September 14, 2022
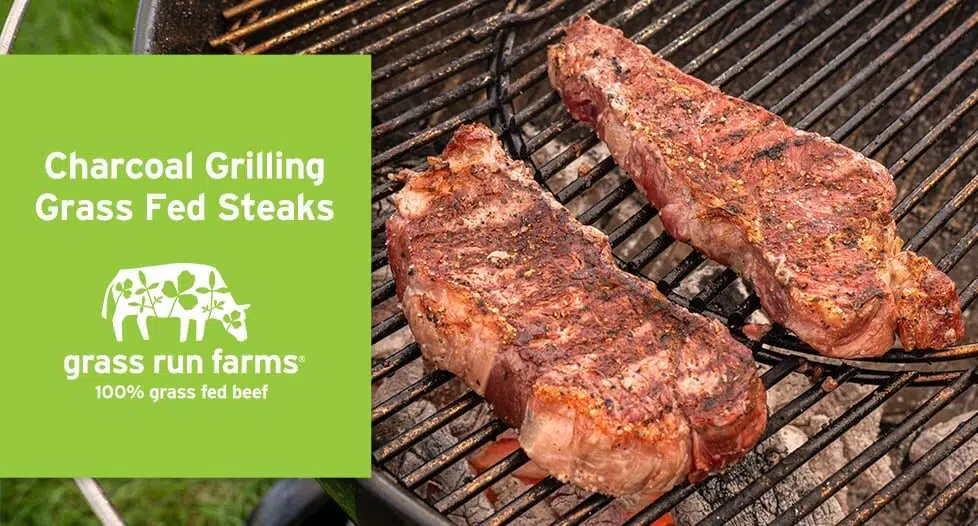
How well do you know how to grill with charcoal? All backyard cooking enthusiasts have their preferred methods, but the trusty charcoal grill is a top favorite every grilling season. The glow of red-hot lump charcoal under the grate paired with the delicious smell of smoke and grass fed beef cooking over the coals is enough to make any stomach start rumbling. If you’re not experienced in this method, getting started can seem a bit daunting. Whether you’re a complete novice or striving to perfect your technique, Grass Run Farms is here to help!

Step 1: Choose Your Grass Fed Steak (and Veggies)
You’ve got the charcoal grill waiting on the patio. Now you need the most important ingredient: the beef! Any Grass Run Farms 100% Grass Fed Steak will make a great option for your cookout. If you’re looking for a cut that will truly impress, we suggest the Grass Run Farms 100% Grass Fed and Finished New York Strip Steak. This beloved steak comes from the loin primal and features exceptional marbling that produces tender, juicy bites. You can’t go wrong with a crowd-pleasing Grass Run Farms 100% Grass Fed and Finished Ribeye or Top Sirloin either.
Pro-tip: Streamline your meal prep by gathering seasonal vegetables into foil packets to serve alongside your delicious grass fed beef!
Summer favorites like zucchini, yellow squash, asparagus, and potatoes can be cooked at the same time. Slice up your choice of vegetables, add a tablespoon of butter or olive oil, season to your preference, then fold it all up in a sheet of aluminum foil. Place on the grill and then grab a refreshing beverage to enjoy on the patio with friends and family while your entire meal is cooking.
Step 2: Prepare Your Charcoal Grill
When setting up your charcoal grill for success, it’s important to keep in mind two things: the type of charcoal you’re using and the “zones” of the grill. Lump charcoal is recommended over briquettes, which appear more convenient but may contain additives that flavor your food – and not in a good way. That’s also why grilling experts recommend using gas torches or charcoal lighter cubes to help get the charcoal lit. Lighter fluid may seem like the easiest option but using too much can also impart flavors in your grass fed beef that you’d rather not taste.
Pile the lump charcoal in a pyramid to one side of the grill. This helps create specific ”zones” for searing and cooking the grass fed beef. The side of the grill with all the charcoal provides a searing spot, while the other side provides the best atmosphere for cooking to the recommended internal temperature. These are two essential components for getting the perfect steak every time.
Pro-tip: According to the BBQ Guys, how you choose to light your charcoal can help your cooking plans.
Lighting the top of the pile creates an environment best suited for low, slow cooking, because the top will burn down to the bottom for a more consistent temperature. Lighting the bottom of the pile creates hotter temperatures necessary for that perfect sear as the bottom pile burns upwards.
Step 3: Add Grass Fed Beef
Once you’ve arranged and lit the charcoal, wait until you see a white-gray ash cover. This covering means the charcoal is heated to the right temperature! Season both sides of your grass fed steak with salt and pepper, then place on the searing side of the grill for approximately two to four minutes, or until a sizzling crust has formed. Then, flip each steak and cook for another two to four minutes until browned. While your grass fed steaks are searing, place the foil packets on the cooking side of the grill.
Pro-tip: Don’t forget the sides!
Use metal tongs to pick up and sear the steak along the top, bottom, and sides before moving to the cooking zone. This creates an all-around sear that enhances flavor and provides that final, juicy bite.
Step 4: Move Zones
Now that you’ve achieved a picture-perfect sear, it’s time to bring the grass fed steaks to completion. Move the steaks to the ”cooking” zone of the grill and cover. It may be hard to wait, but allowing the steak to cook uninterrupted to an internal temperature of 1450F ensures safety and flavor. Use a meat thermometer to make sure the grass fed steak is reaching the right temperature. Once you’ve confirmed, remove the grass fed steaks from the grill and allow to rest for three to five minutes. Wondering why it’s essential to rest your steaks after cooking? We explain this simple step with big rewards here!
Pro-tip: Check your foil packets before removing the grass fed beef from the grill.
If needed, move the vegetables to the “searing” zone to finish them while your grass fed beef is resting. It should all be cooked by the time your grass fed steaks are ready for cutting. Just remember to cut against the grain!
When dinner is done and everyone is satisfied, make sure to allow the coals to cool by closing the vents on the bottom of the grill and putting the lid back on. This suppresses the oxygen supply to the coals to help fully put them out. Use a metal or heat-proof container to dump the ashes. Keeping your grill clean promotes a more even cook and helps heat your grill more efficiently each time you’re outdoors.
We hope you’ve got your apron ready! If you’re hungry for other cooking tips, check out these Cast Iron Skillet tips. Visit our recipe page to get meal inspiration for every season with Grass Run Farms American 100% grass fed and finished beef. Grass Run Farms products are available online or at your local retailer!